When it comes to maintaining your home’s interior, walls are often overlooked—until a small crack turns into a bigger eyesore.
At first glance, fixing drywall might seem like a simple weekend project. But in reality, residential drywall repair is one of those jobs where DIY efforts can cost you more time, stress, and money than you expect.
That’s why hiring a professional drywall contractor isn’t just convenient—it’s a smart investment in your property.
Why Drywall Damage Happens in the First Place
Walls take a daily beating. From moving furniture and accidental bumps to moisture exposure and settling foundations, drywall damage is inevitable over time.
What may start as a hairline crack or small hole can quickly expand, compromising the look of your space and even affecting the value of your home.
The key challenge for homeowners is knowing whether the damage is simply cosmetic or a sign of something deeper.
Professional residential drywall repair contractors are trained to diagnose the issue properly—ensuring that the fix isn’t just temporary, but long-lasting.
The Hidden Risks of DIY Drywall Repair
Many homeowners initially consider a DIY fix, thinking it will save money. Unfortunately, drywall work is more complex than patching a hole with putty.
Here are a few common DIY pitfalls:
- Visible seams and uneven texture – Without the right tools and techniques, blending patches seamlessly into existing walls is extremely difficult.
- Wasted time and materials – Improper cuts, over-sanding, and misapplied joint compound often lead to repeated attempts and added costs.
- Potential safety issues – Larger drywall repairs may involve electrical wiring or plumbing behind the wall—an area best left to professionals.
Instead of struggling with uneven walls and mismatched paint, hiring a professional for residential drywall repair ensures flawless results that stand the test of time.
Why Professionals Save You Money in the Long Run
It may feel counterintuitive, but bringing in an expert often ends up being more cost-effective than DIY. Professionals:
- Work efficiently, completing projects in hours or days that might take homeowners weeks.
- Have the right equipment for precision cutting, taping, and finishing.
- Guarantee results that increase your home’s aesthetic and resale value.
For busy homeowners, the true ROI of hiring a residential drywall repair contractor lies in the combination of time saved, stress avoided, and quality achieved.
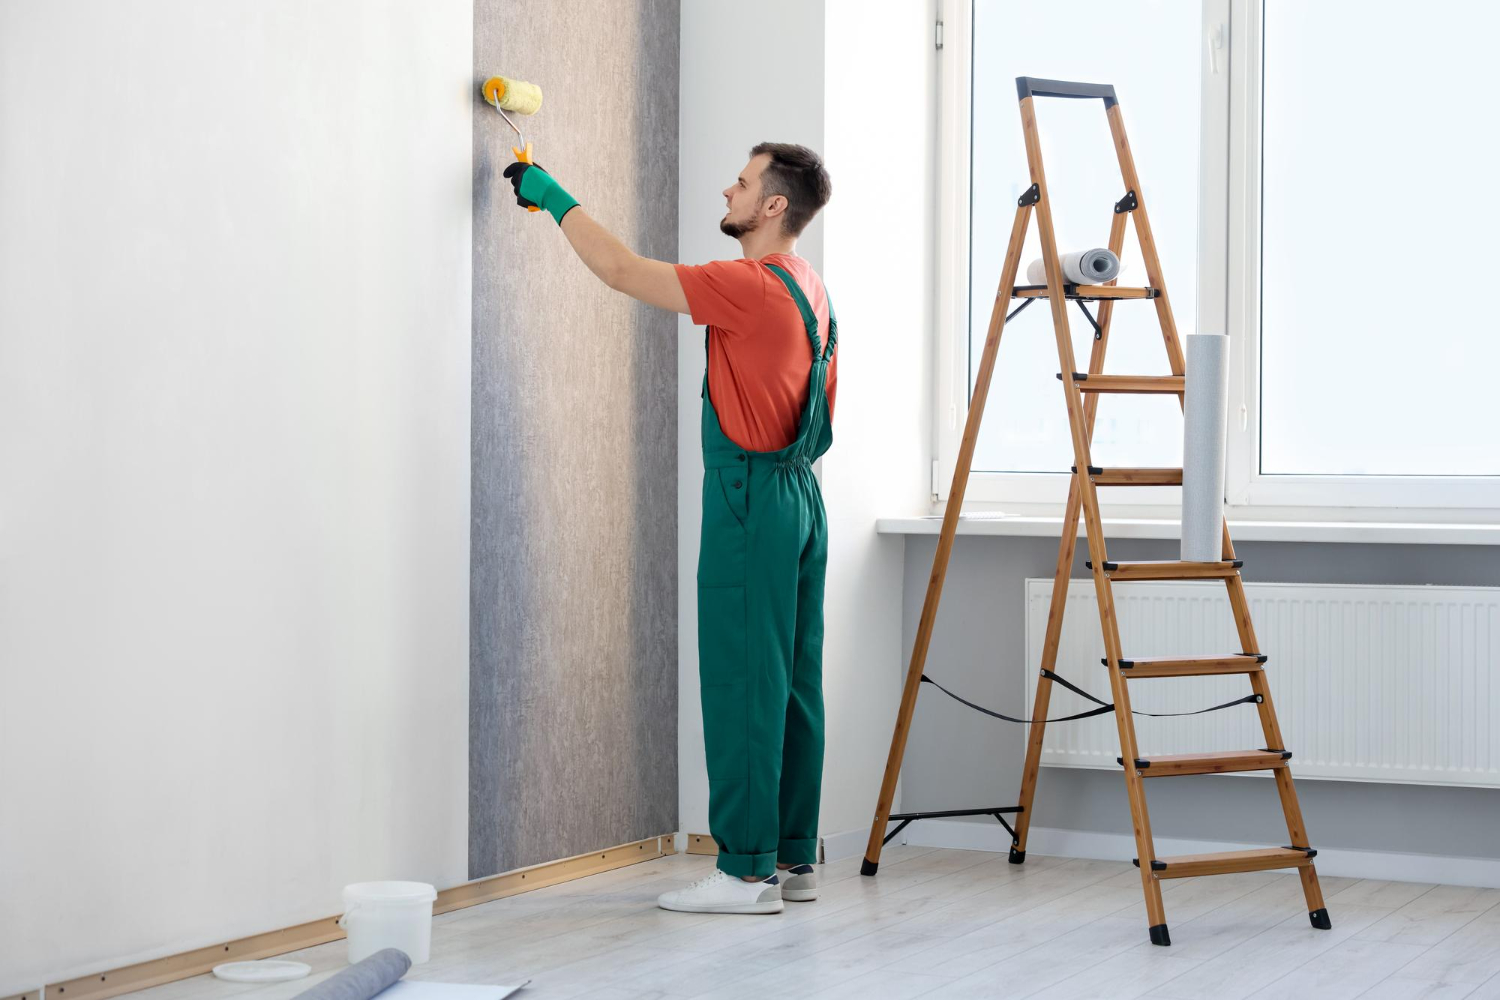
Professional Drywall Repair and Painting Go Hand in Hand
Once the repair is done, there’s another challenge—matching paint seamlessly with existing walls. Professional drywall contractors often provide painting services as part of the package. This means one team handles the entire project, ensuring there are no visible signs of repair.
For retail properties, offices, or homeowners preparing to sell, this professional finish can make all the difference in first impressions.
What Materials and Tools Are Commonly Used in Drywall Repair?
Whether you’re patching a small hole or dealing with a large damaged section, drywall repair usually involves a core set of materials and tools. Most homeowners will encounter:
- Drywall compound (joint compound or “mud”) – the paste that smooths over seams, cracks, and repairs.
- Drywall tape – either paper or mesh, used to cover seams and prevent future cracking.
- Sandpaper or sanding sponge – for creating a smooth, paint-ready surface.
- Drywall saw or utility knife – to cut out damaged sections.
- Putty knife – for spreading compound evenly.
- Primer and paint – to finish and blend the repaired area with the rest of the wall.
Understanding these materials helps homeowners know what to expect if they hire a contractor—or what’s needed if they try smaller repairs on their own.
What Does a Typical Drywall Repair Day Look Like?
For homeowners curious about the process, here’s how a standard repair might unfold:
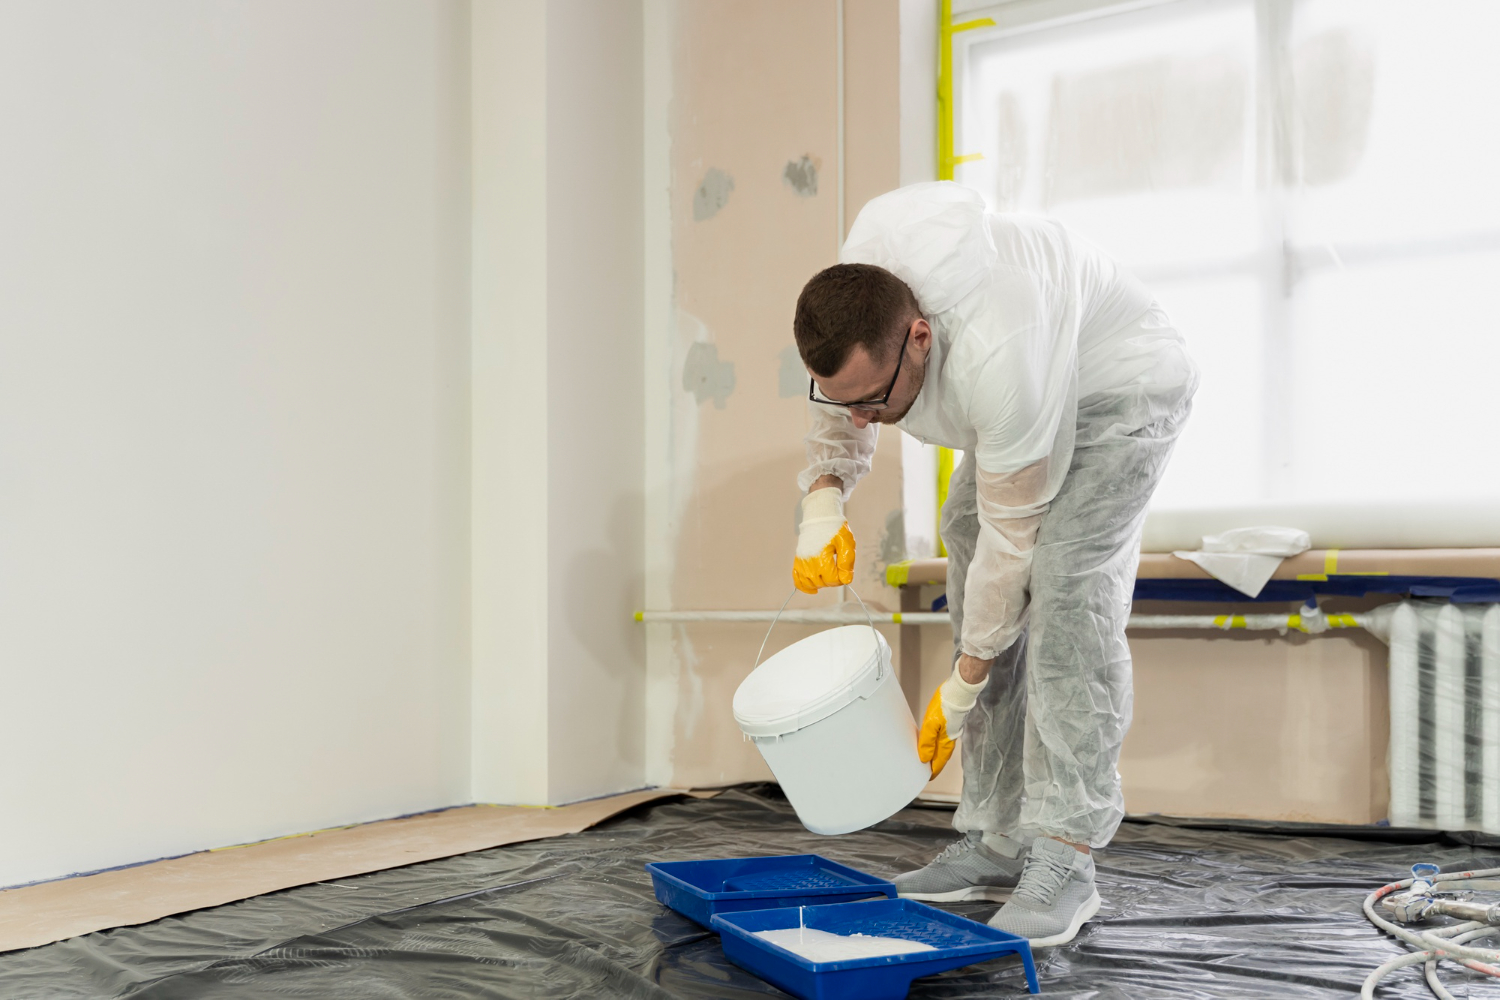
- Preparation and Safety – Furniture may be moved, drop cloths laid down, and dust barriers set up. This prevents drywall dust from spreading throughout the home.
- Cutting and Removing Damage – Damaged drywall is cut out with a saw or knife, leaving a clean, square area for patching.
- Installing Patches or New Drywall – A new piece of drywall is cut to size, fitted into the hole, and secured with screws or adhesive.
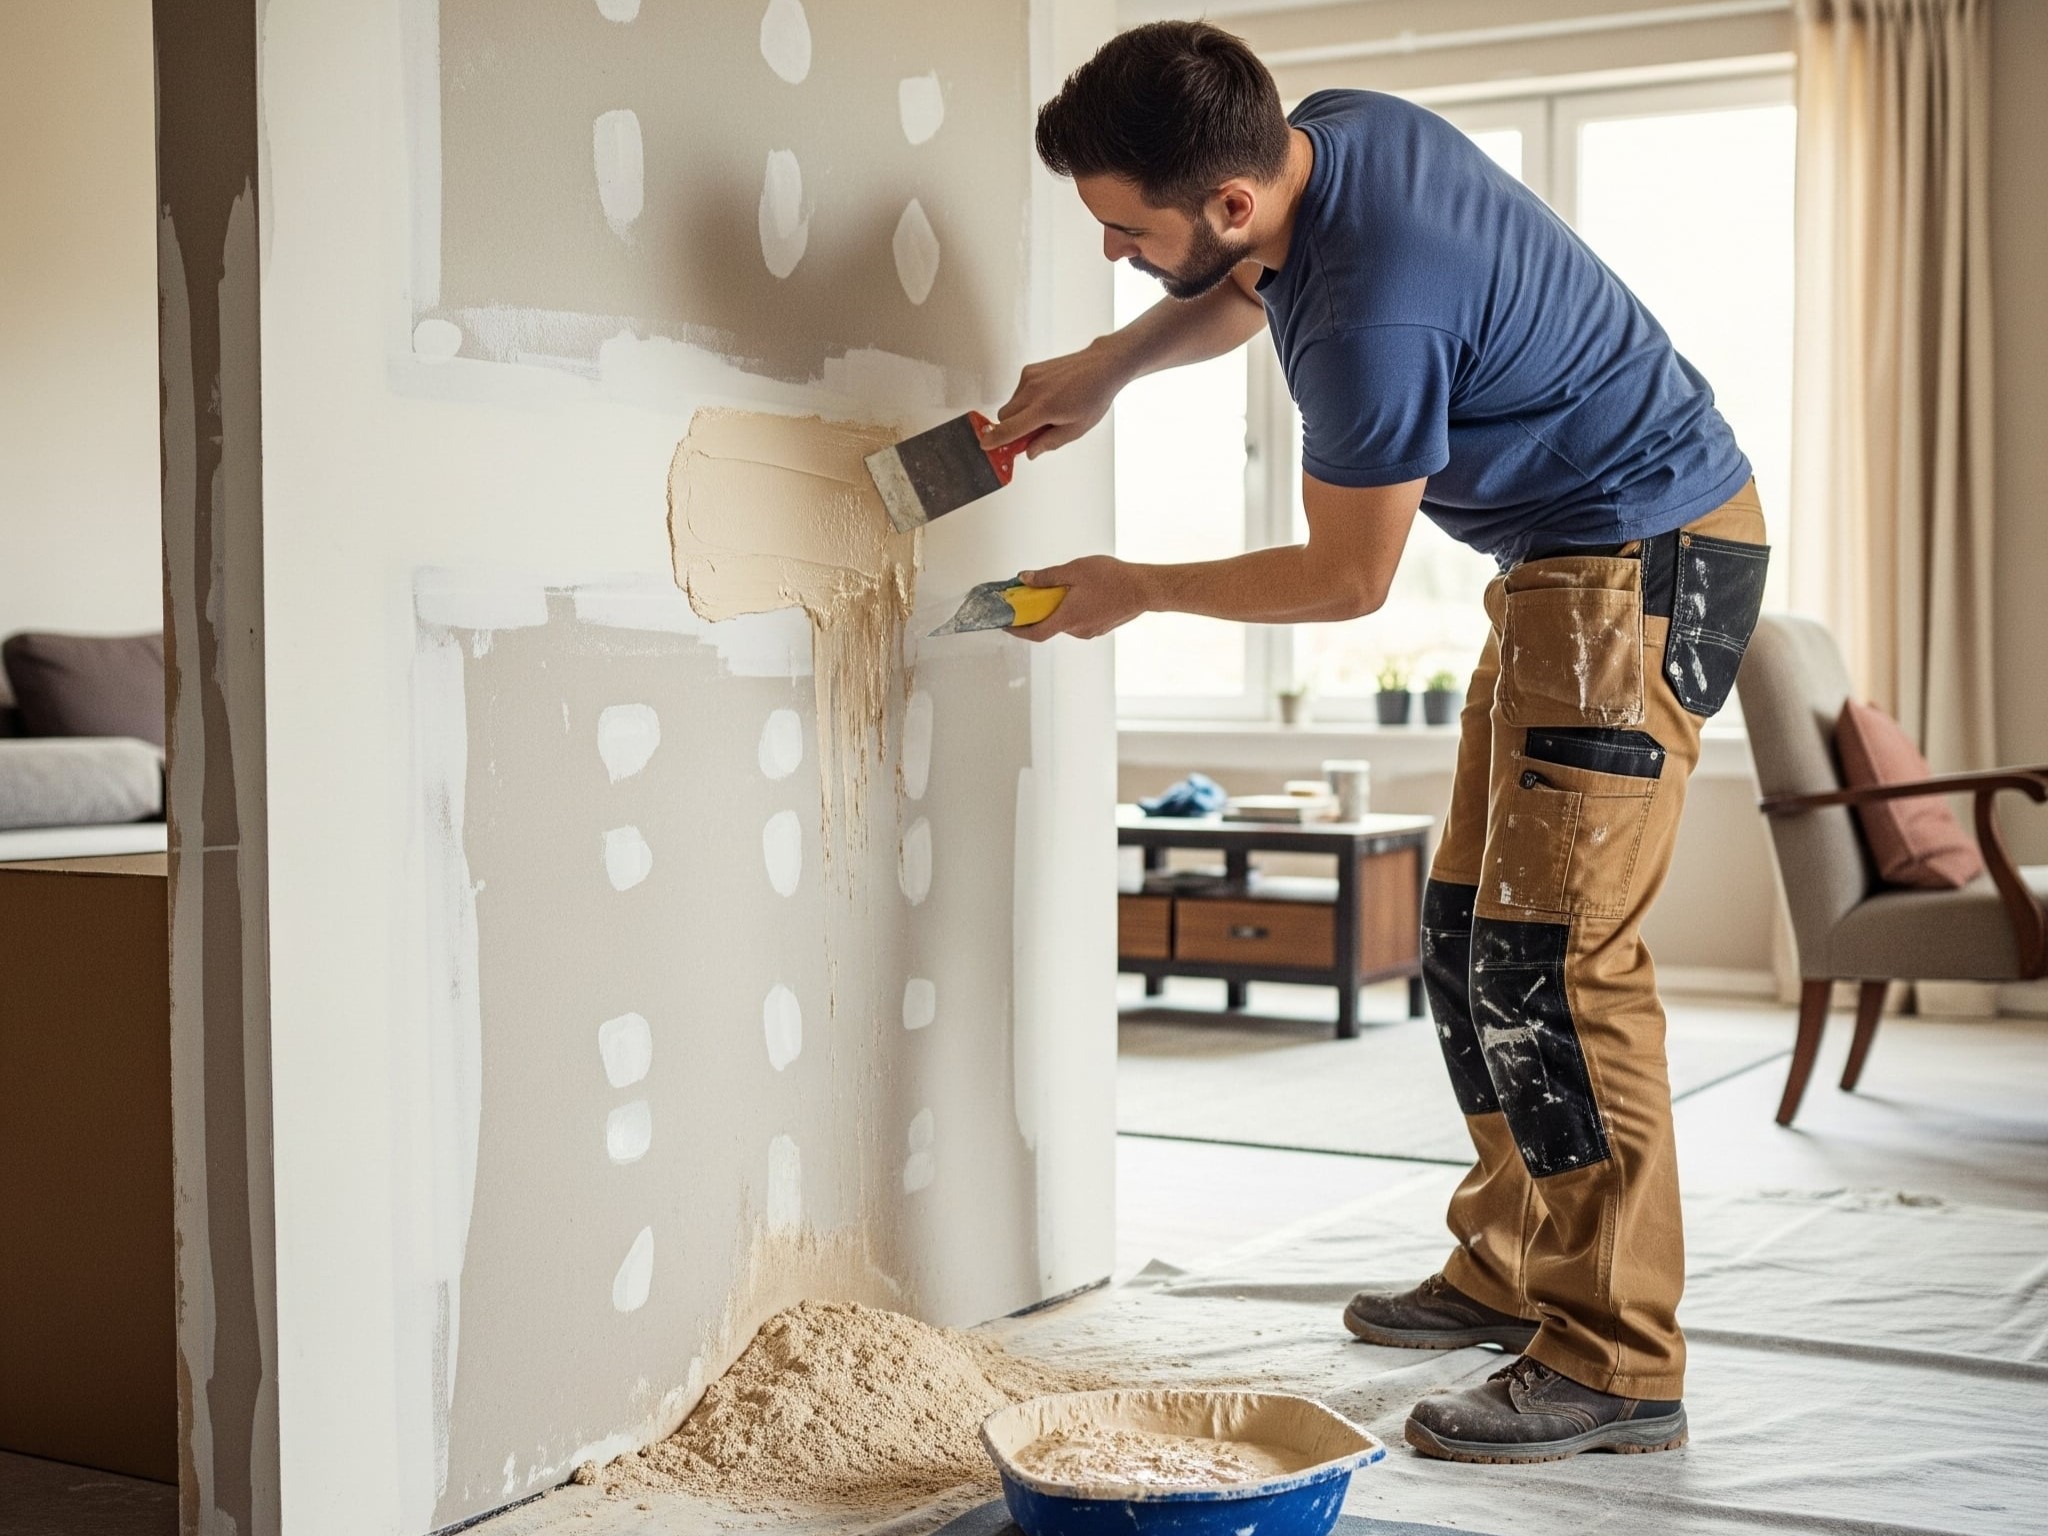
- Taping and Mud Application – Seams are taped and covered with joint compound. Multiple layers may be applied, with drying time in between.
- Sanding and Smoothing – Once dry, the compound is sanded to blend seamlessly with the wall surface.
- Priming and Painting – Finally, primer is applied to seal the area, followed by matching paint for a clean finish.
Depending on the size of the repair, this process can take a few hours or stretch across multiple days (to allow for compound drying and sanding).
Practical Considerations Homeowners Should Keep in Mind
- Dust Control: Drywall sanding creates fine dust that travels easily. Contractors often use vacuum sanders or barriers to reduce mess.
- Drying Time: Joint compound usually requires at least 24 hours to dry between coats, so even small repairs may not be a one-day job.
- Matching Paint and Texture: Blending old and new surfaces can be tricky. Some walls have textures (orange peel, knockdown, etc.) that need specialized spraying tools to match.
- Cost Factors: Material costs are usually minor compared to labor. What drives cost up is the size, complexity, and finishing requirements of the repair.
The Bottom Line: A Smarter Way to Protect Your Home
While DIY may be tempting, drywall repair is not an area where shortcuts pay off. From misaligned seams to hidden damage, the risks far outweigh the perceived savings. Choosing professional residential drywall repair means investing in a durable, polished, and stress-free solution for your home.
Final Takeaway: If your walls have cracks, dents, or holes, don’t gamble with DIY fixes. A trusted drywall repair contractor will save you time, protect your investment, and deliver results you can’t achieve on your own.
Frequently Asked Questions About Residential Drywall Repair
Q1. Why should I hire a professional instead of doing drywall repair myself?
DIY repairs often look fine at first, but can result in uneven finishes, cracks reappearing, or mismatched textures. A professional contractor ensures the repair blends seamlessly with your existing wall, saving you from repeat fixes and extra costs.
Q2. How long does residential drywall repair usually take?
Most small to medium-sized repairs can be completed in a day or two. Larger projects involving water damage, multiple rooms, or re-texturing may take longer. Professionals work efficiently to minimize disruption to your home.
Q3. Is drywall repair expensive?
Costs depend on the size and complexity of the damage. However, hiring a professional often saves money long-term by preventing recurring problems and ensuring a durable finish.
Q4. Can professionals also paint after drywall repair?
Yes. Many drywall repair contractors also offer painting services, ensuring the repaired section matches the rest of the wall perfectly. This creates a polished, uniform look throughout your home.
Q5. How do I know if my drywall needs repair or replacement?
Minor dents, cracks, or holes can usually be repaired. However, extensive water damage, mold, or structural issues may require partial replacement. A professional contractor can assess the damage and recommend the most cost-effective solution.