Condos are becoming popular housing choices in major cities as they’re reasonably more affordable than single-family homes. Their lower purchase price and comparatively lower maintenance needs are enabling more people to choose these spaces for comfortable living.
While these spaces offer numerous benefits, their appearance may not necessarily match your expectations. Thankfully, condo painting can fix it. If you’ve found a decent condo in a prime location, you can get it freshly painted to give it the look you want.
To make the process easier, we’ve created this guide featuring a step-by-step process of standard condo painting services. It will give you realistic expectations for the process, helping you avoid challenges during painting. So, let’s explore the steps shared below.
-
Initial Consultation and Estimate
It’s the starting point of the pre-painting phase. Once you’ve chosen an agency for condo painting, their representatives will visit your condo for an initial consultation. During this initial consultation, painters will measure the wall space, note ceiling height, inspect surface conditions, and evaluate prep work needed.
They will also discuss your vision, including colour preferences and specific concerns. Experienced condo painting agencies would also identify any damage requiring repair during this stage. If you’ve never worked with any condo painting service providers before, now is the time to ask all your questions before proceeding.
After this consultation, you’ll generally receive a detailed estimate report, including a cost breakdown, project duration, etc., within 24 to 48 hours.
-
Colour Selection and Planning
Although some individuals finalize colours and receive a planning brief during the consultation phase, others may require elaborate discussions after accepting the project proposal. If you’re unsure which colours would look best in your condo, you may ask for expert guidance.
They’ll consider the condo’s lighting conditions, existing décor, and personal style preferences before finalizing the colours with you. Once done, they will sit with you to discuss the planning. The best condo painting agencies would usually schedule the work around your availability and even coordinate with the building management (if needed).
-
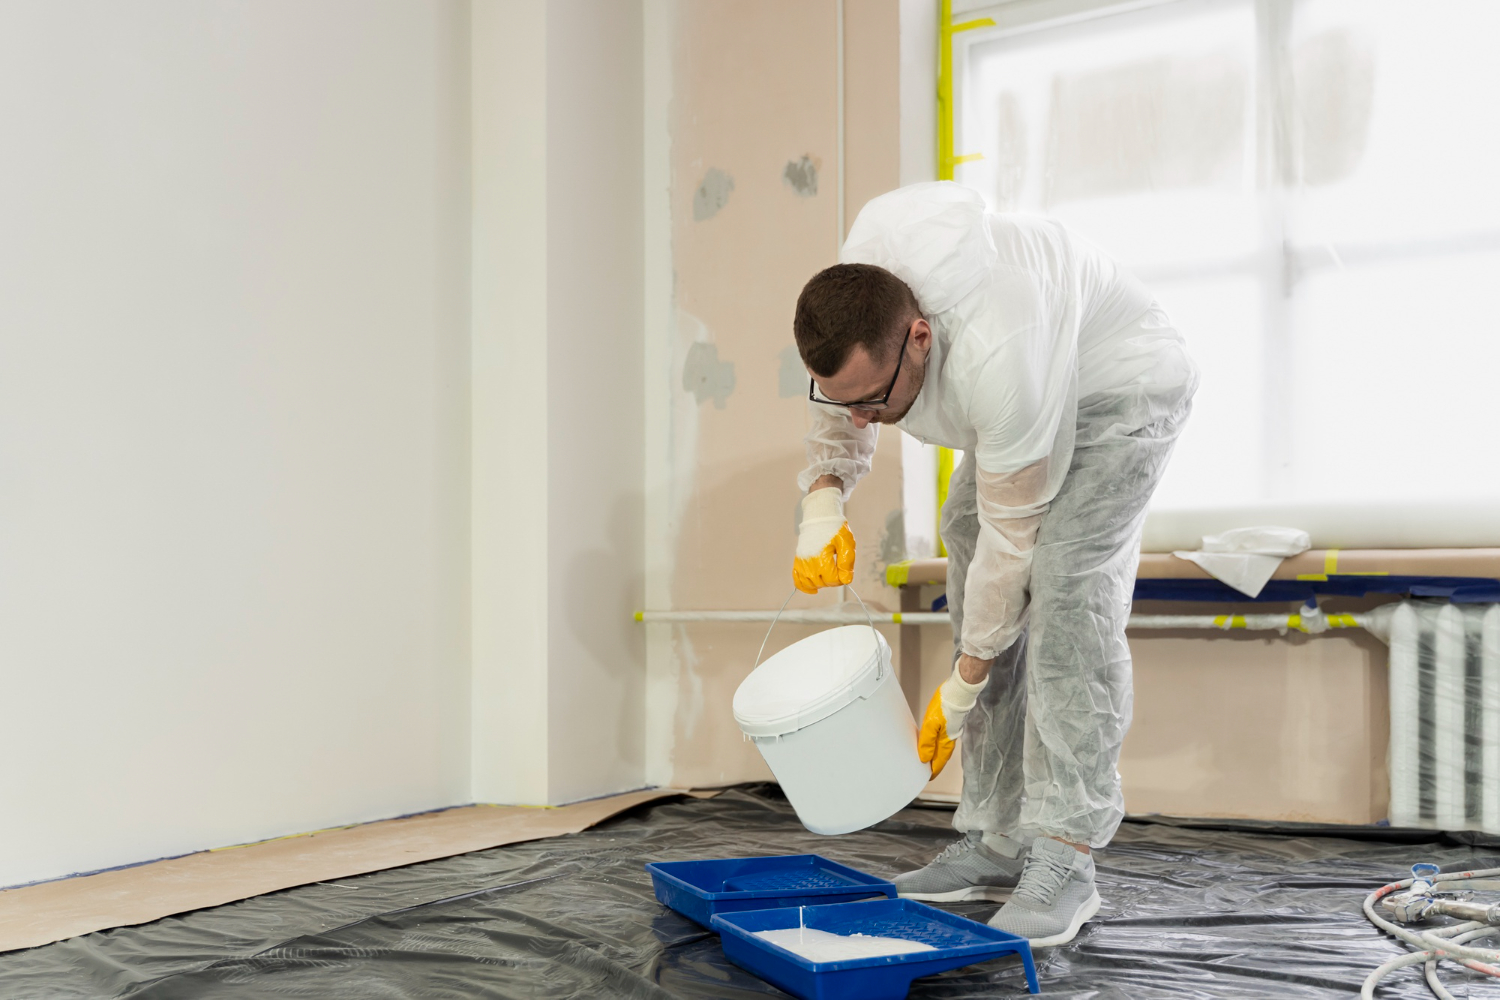
Space Preparation and Protection
After the above two steps are finished, professional condo painting services begin by preparing the space to ensure quality results. The team starts by moving furniture to the center of the room or relocating items entirely. The next step is to cover everything with drop cloths to prevent paint drips from damaging them.
Painter’s tape is applied to window frames, door trims, etc., to create professional lines. Light fixtures, outlet covers, and switch covers are safely removed and securely stored for reinstallation later. This meticulous setup takes time but prevents damage and messy cleanup later.
-
Surface Preparation, Repairs, and Priming
Actual condo painting cannot start if the wall surfaces have imperfections. Hence, the best painters would first identify and address wall imperfections, such as nail holes, cracks, etc., and then fix them to create a smooth surface. Once repairs are made, they will smooth the surface using fine-grit sandpaper. This step creates a uniform base that won’t show through the paint.
Besides repairs, the walls are cleaned to remove any dust, dirt, etc. that may prevent proper paint adhesion. The last step of this preparation stage involves surface priming. It’s incredibly crucial to create a flat, even surface for the topcoat. New drywall or extensive repairs usually get full-wall priming to ensure proper paint absorption across the entire surface.
Spot-priming repaired areas may suffice for previously painted walls in good condition. Proper priming will prevent uneven sheen or colour variations across the wall, ensuring you get excellent results.
-
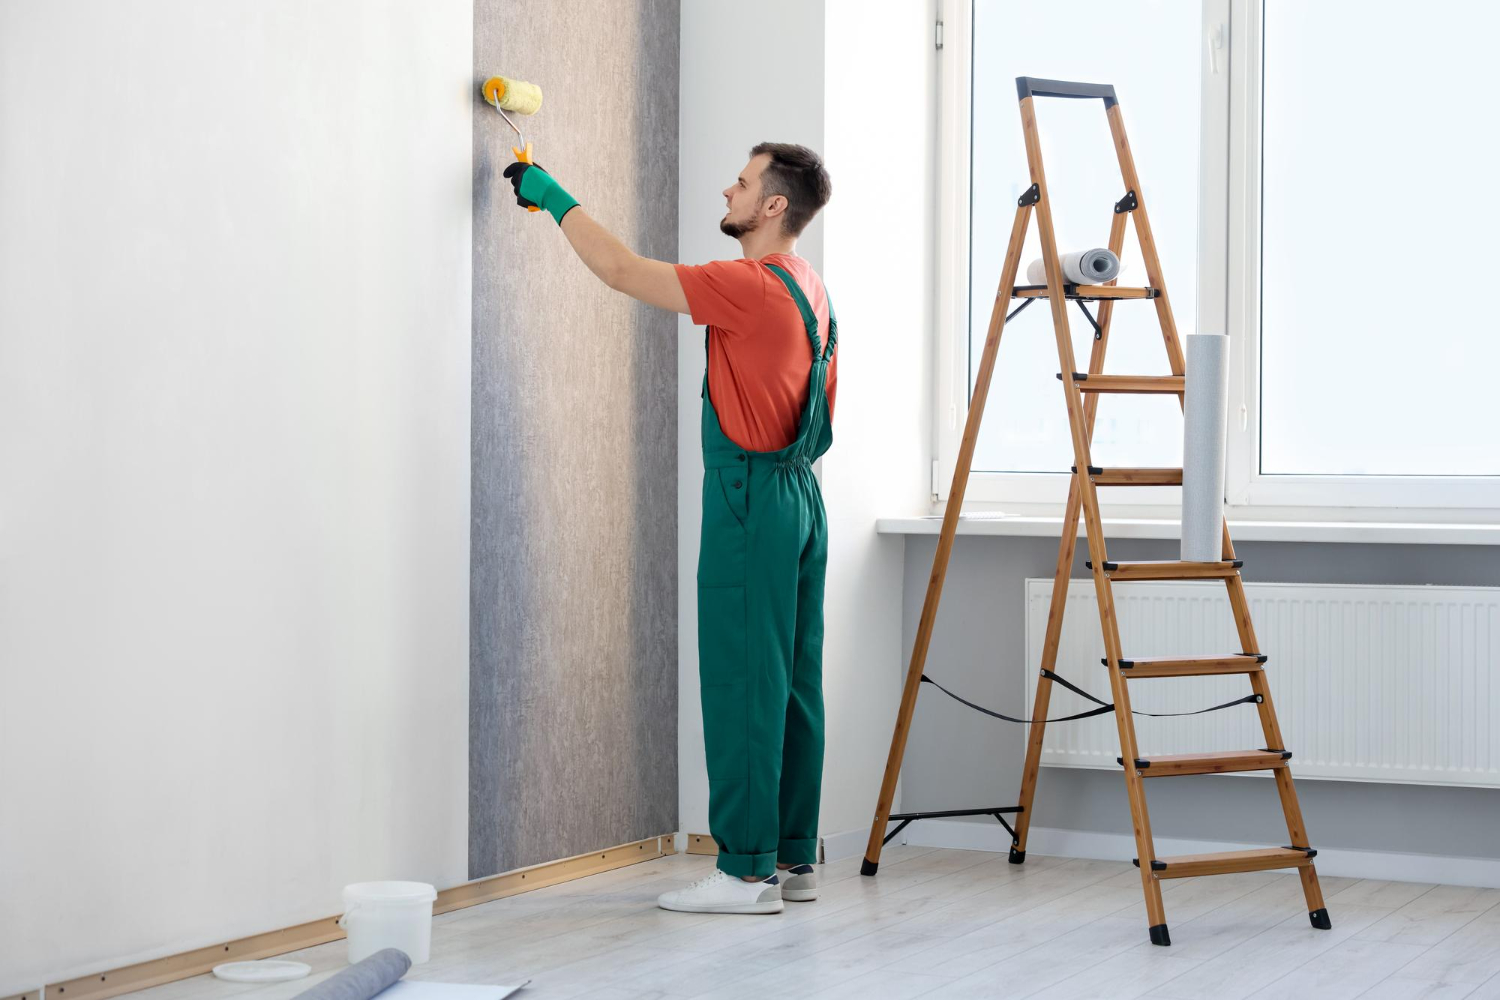
Paint Application
The actual painting process starts after the above step is finished. Painters may start by painting the ceilings, then the walls, and finally the trim work to avoid accidental drips on finished surfaces.
The exact paint process will vary from one agency providing condo painting services to another, so it’s best to discuss this during the initial consultation.
Most painting work requires two coats for proper coverage and durability. Experienced crew will work efficiently while maintaining attention to detail, so the client has less to worry about.
-
Final Inspection and Cleanup
This is the final step, during which condo painting professionals conduct a thorough quality check. In this step, they look for any missed spots, drips, uneven areas, and other quality issues. All identified issues are fixed, so the paintwork looks exceptional. After it’s done, they reinstall the light fixtures, return furniture to its original position, and remove the drop cloths.
If the condo has become dusty, the team vacuums the space before seeking final approval from the client. The top condo painting agencies usually schedule a final walkthrough with the client, during which they address any issues raised by the client and fulfil any touch-up requests (if any).
Conclusion
Getting a condo painted may look like a simple task of applying fresh paint coats to the walls. However, the entire process is layered and involves a lot of work. If you’ve never hired any agency for professional condo painting services before, it’s easy to get overwhelmed or miss a few crucial points.
Hence, we’ve created this comprehensive guide to make the entire process smooth and hassle-free. You can keep this blog handy, so you know what to expect before, during, and after the process, ensuring a pleasant experience.